Welcome to plantfans! This is a quick introduction to show you how to create a site using plantfans.
Login
When you first login, you will see the admin welcome page.
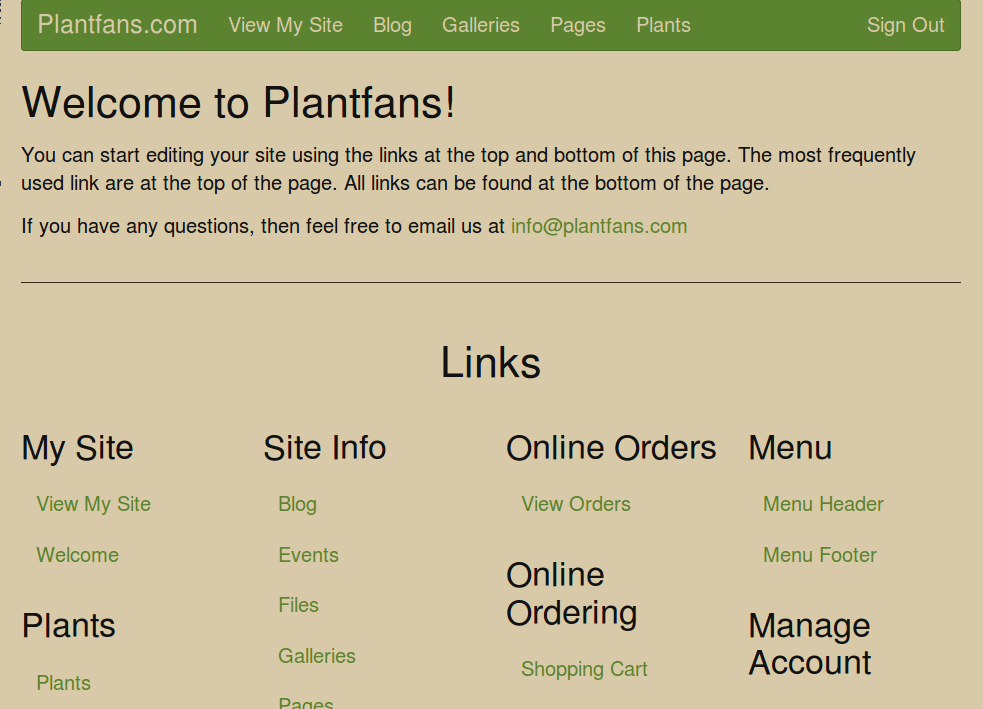
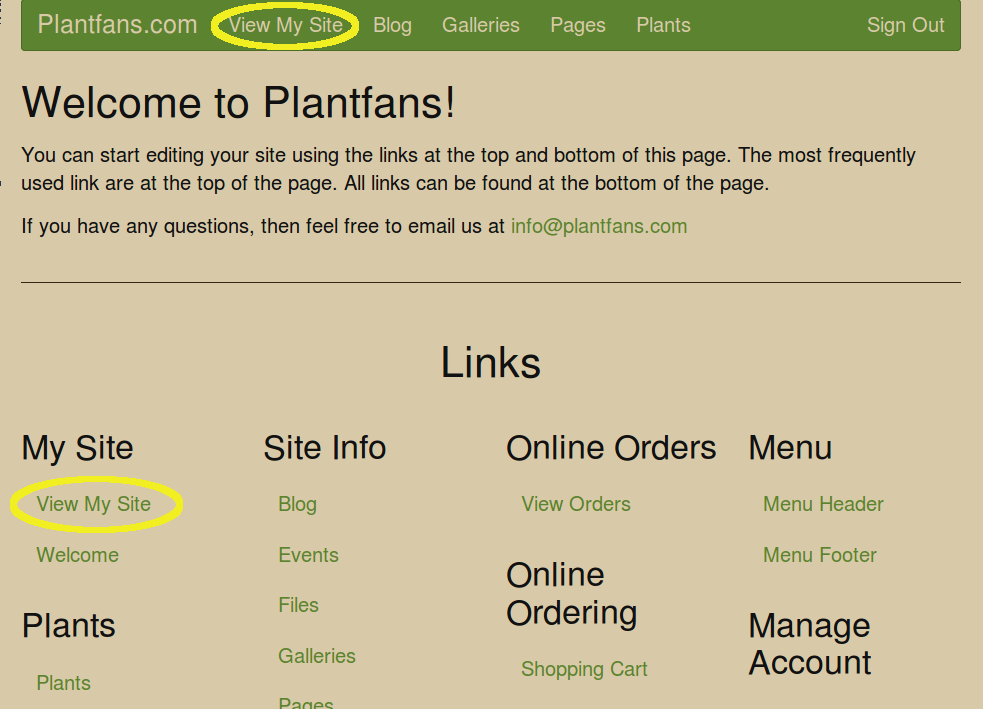
Let’s start by viewing our site. You can use the “View My Site” link at either the top or bottom of the page. The most often used links are at the top, but everything that you can edit is linked at the bottom of the page.
Update Home Page
When you first login, your home page won’t have much on it. Let’s add a little more text and a picture.
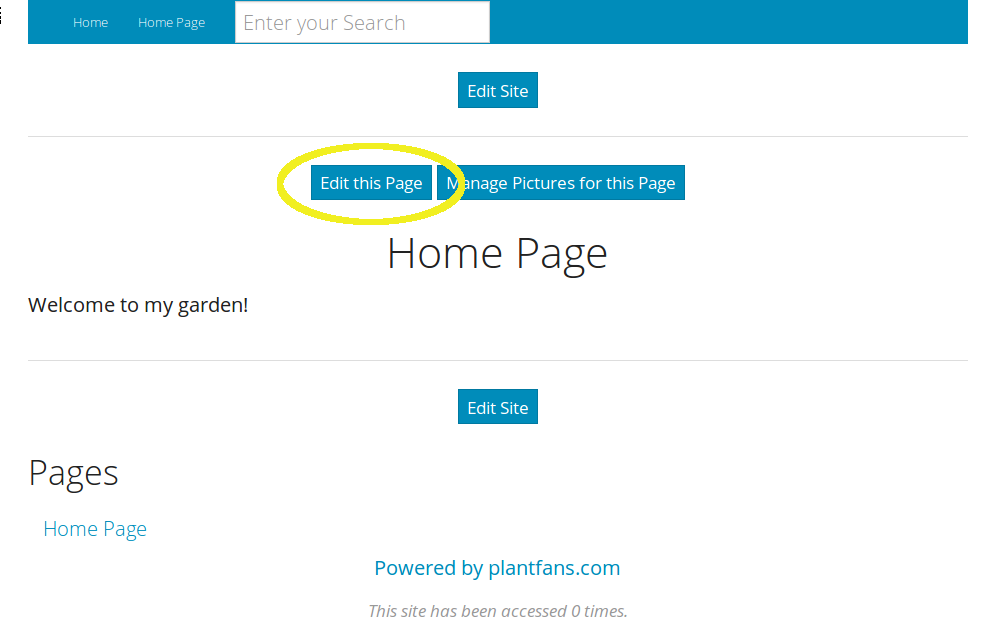
We can do that by clicking the “Edit this Page” link at the top of the screen. These links only appear when you are browsing your site while logged in.
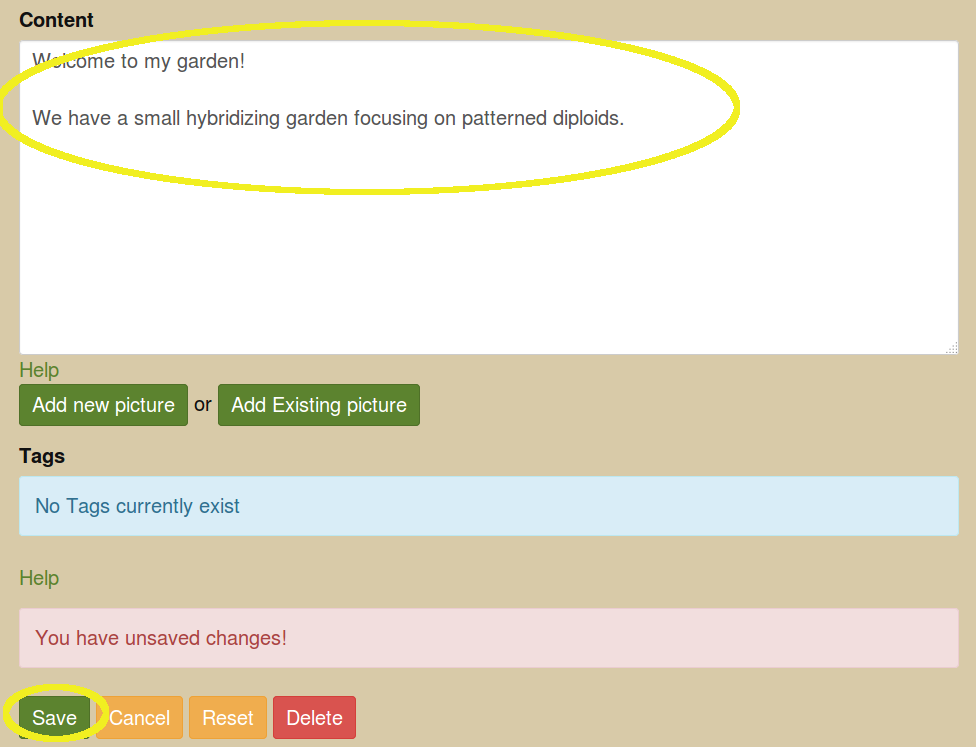
After clicking Edit this page, you will be taken to the edit page. You can update the text and save your changes.
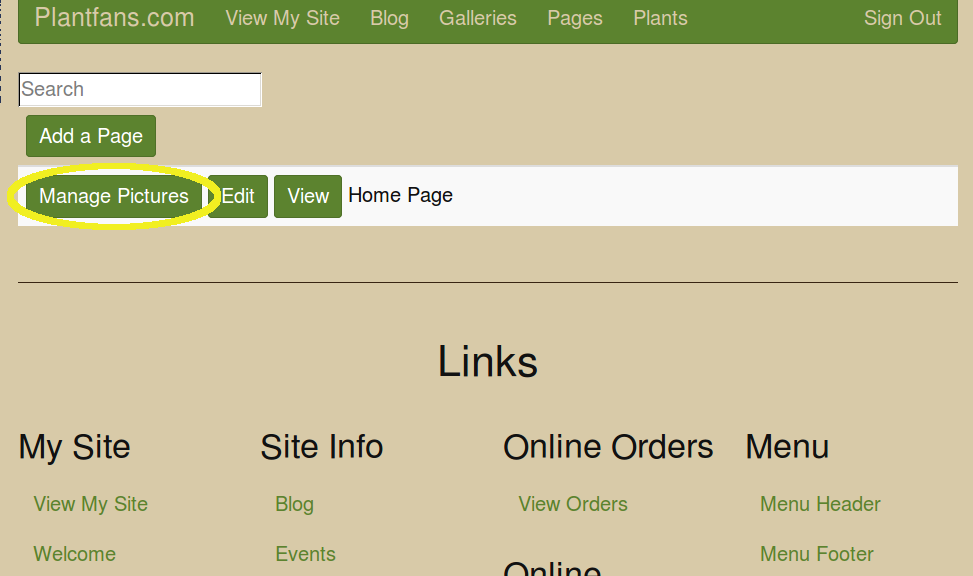
After clicking Save, you will see a list of all your pages. We would like to add a picture to our home page, so click “Manage Pictures”
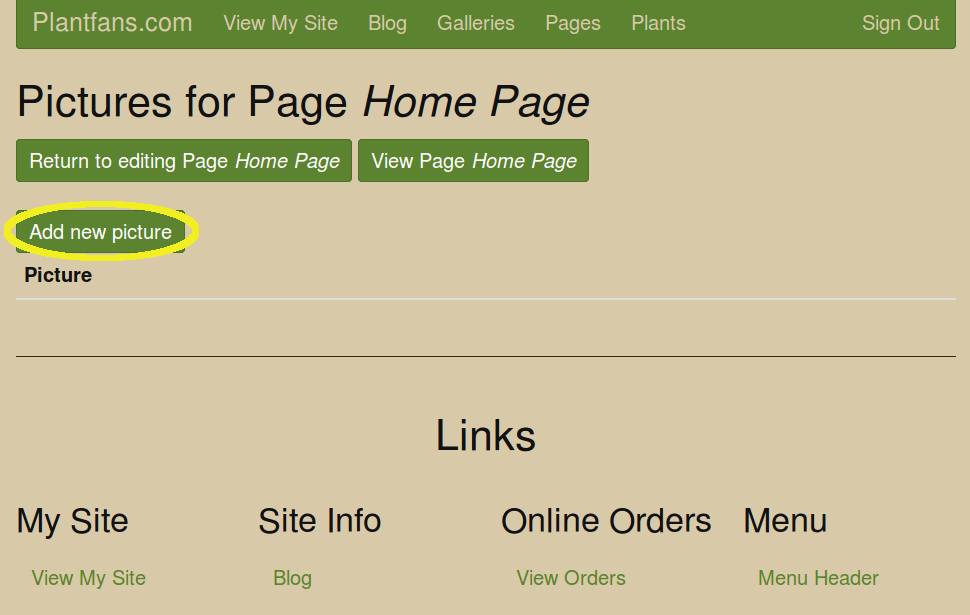
On this page, you can click “Add a new picture”
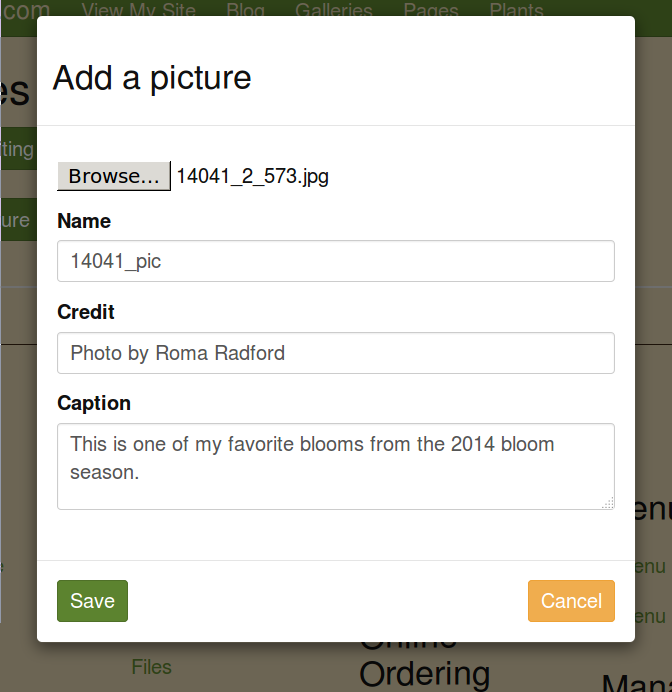
This will give you a popup where you can choose a picture. You may also specify a photo credit and caption if you like.
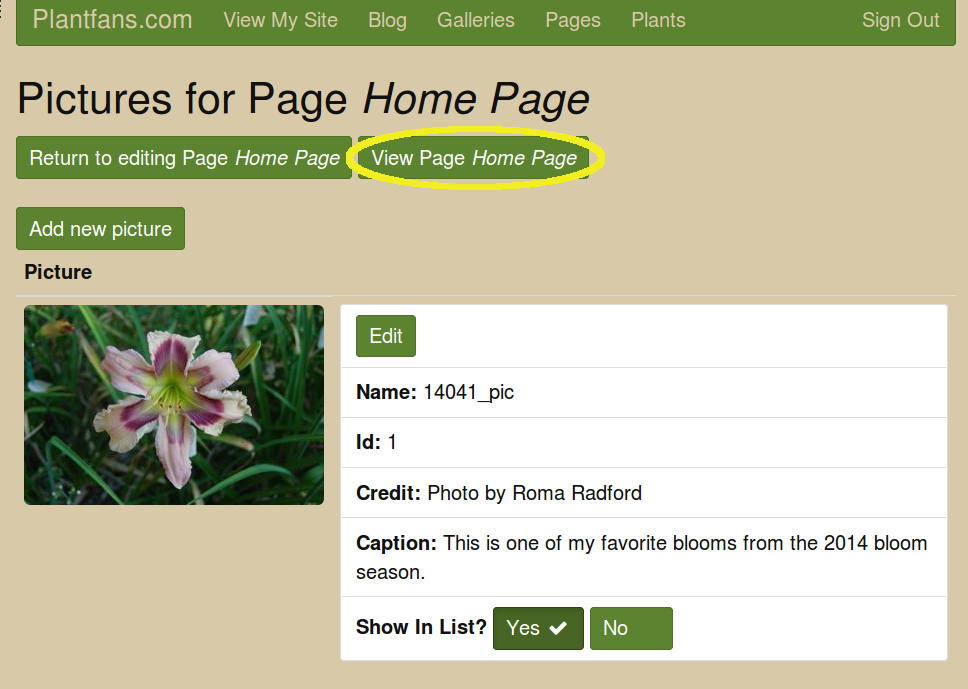
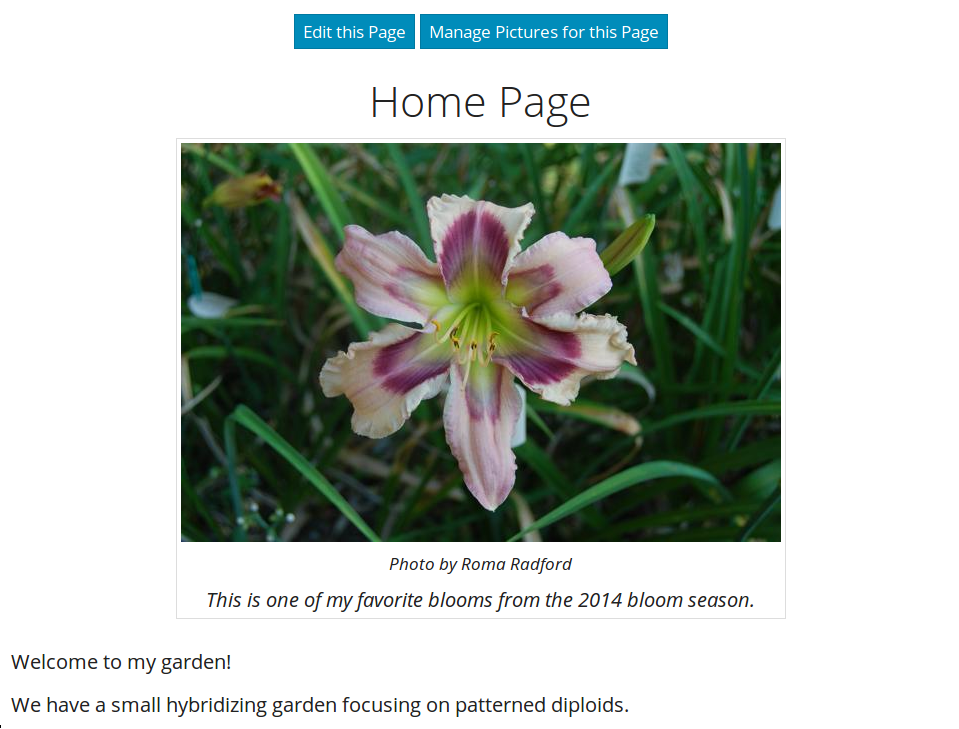
After adding our picture, let’s view our page by clicking “View Page Home Page”. You can see the credit and caption on the picture.
Add Ordering Page
Now let’s add a quick ordering page.
Click the “Edit Site” link at the top of the page. This will take you to the admin welcome page.
Click the link for Pages at either the top or the bottom of the page.
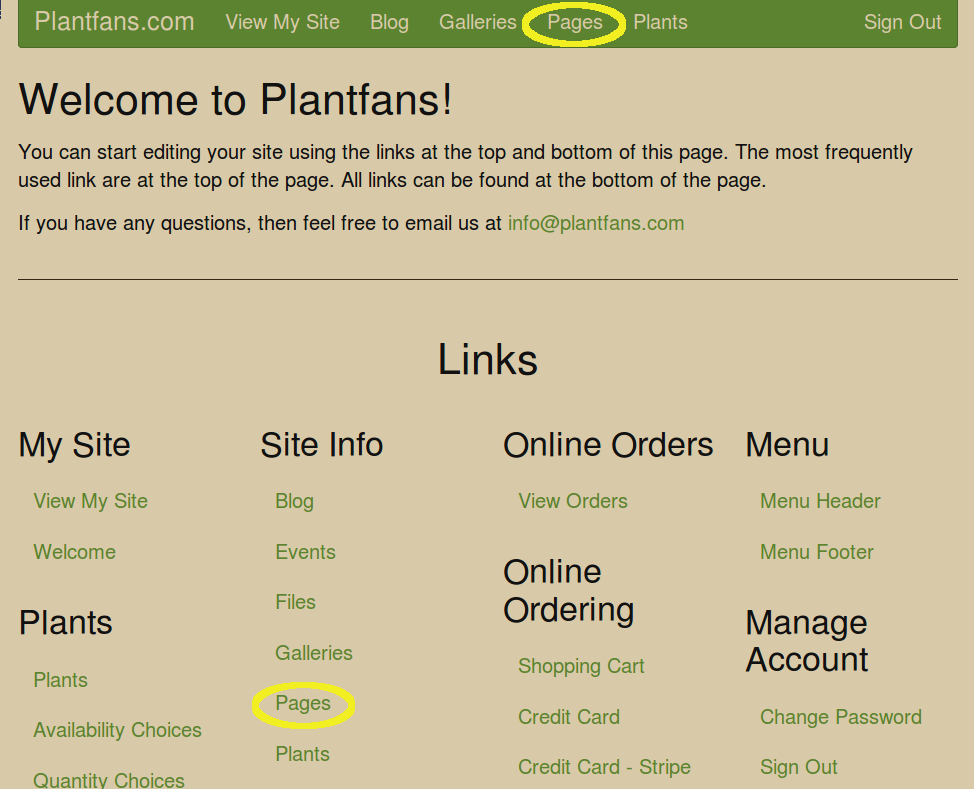
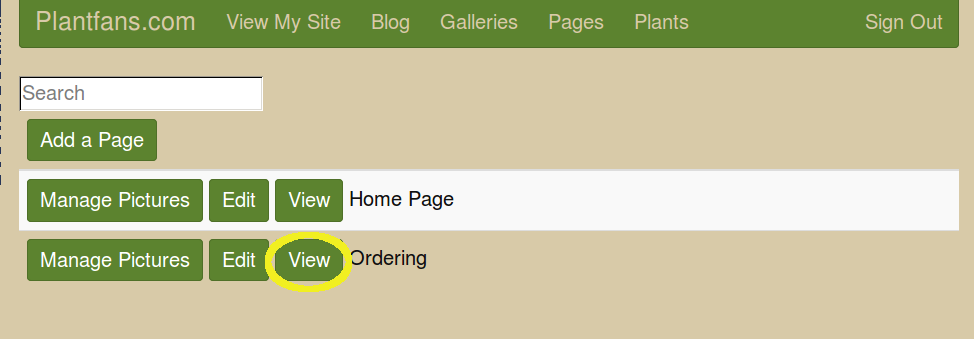
This will take us to a screen listing all our pages.
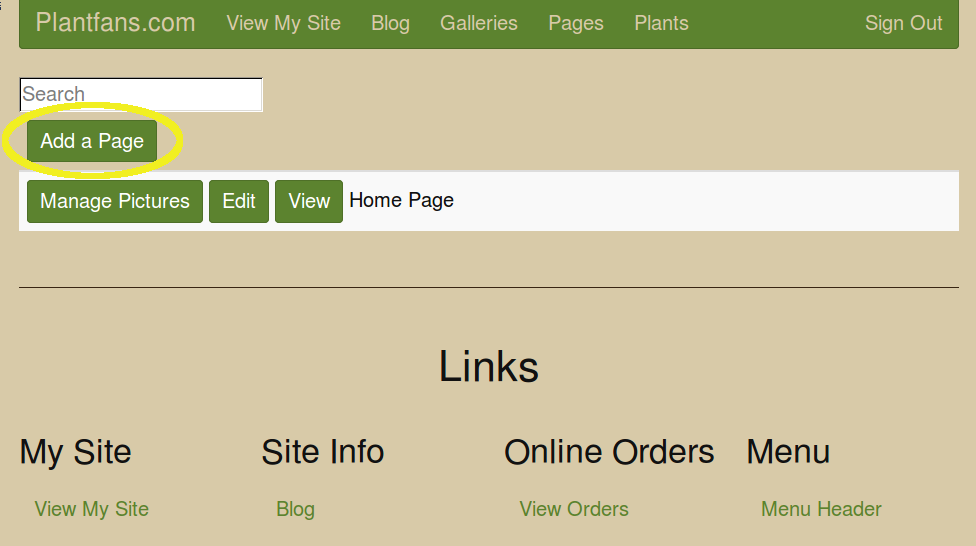
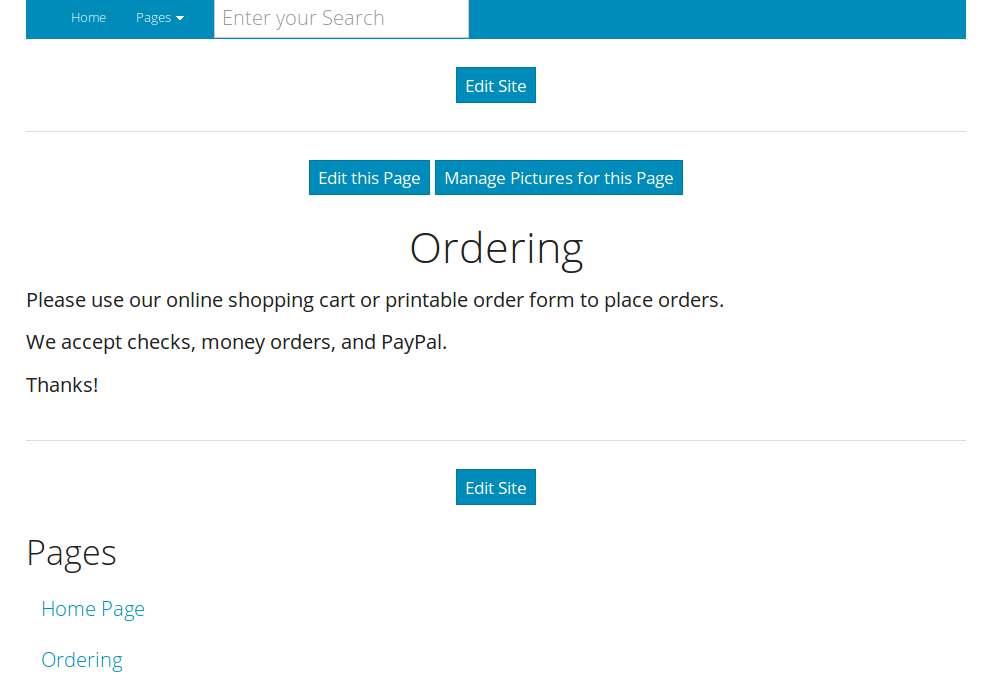
Click on the “Add a Page” button and add a quick Ordering page.
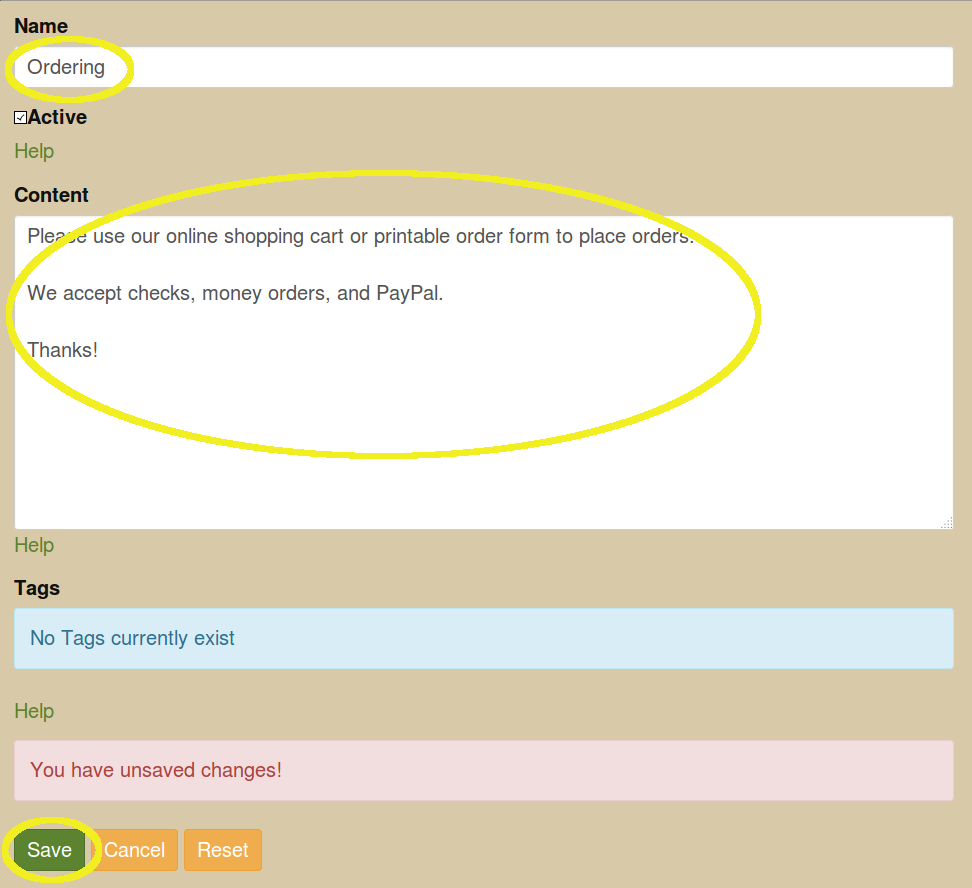
Click save and now you can view your new page.
Add a Plant
Now that we have an ordering page, let’s add something for folks to order.
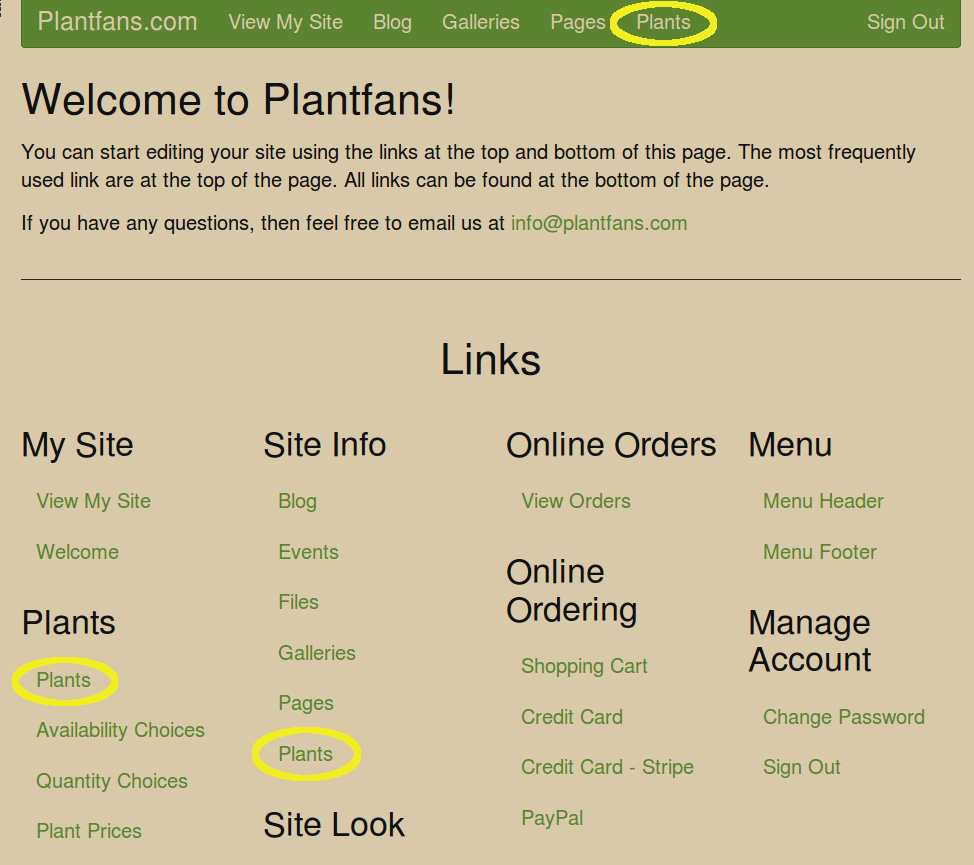
Click the “Edit Site” link to go back to the admin welcome page. Now click Plants at the top or bottom of the page.
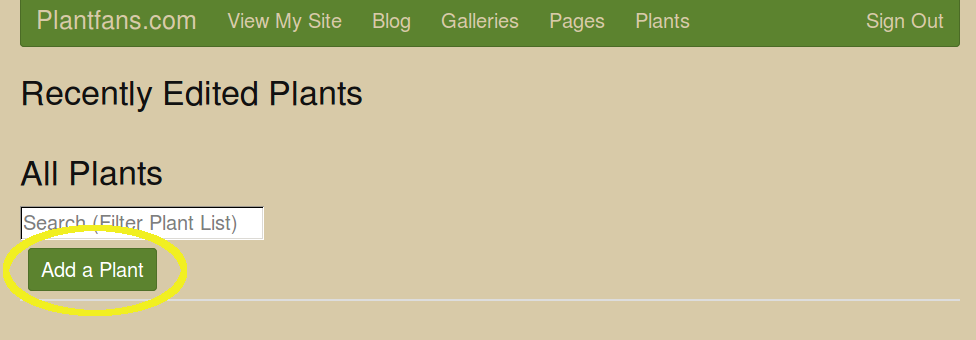
On the plants screen, click Add a plant.
We are selling Westbourne Earthquake, so let’s fill out the name, price, quantity, availability, and description. The choices for quantity and availability can be changed to match your plants.
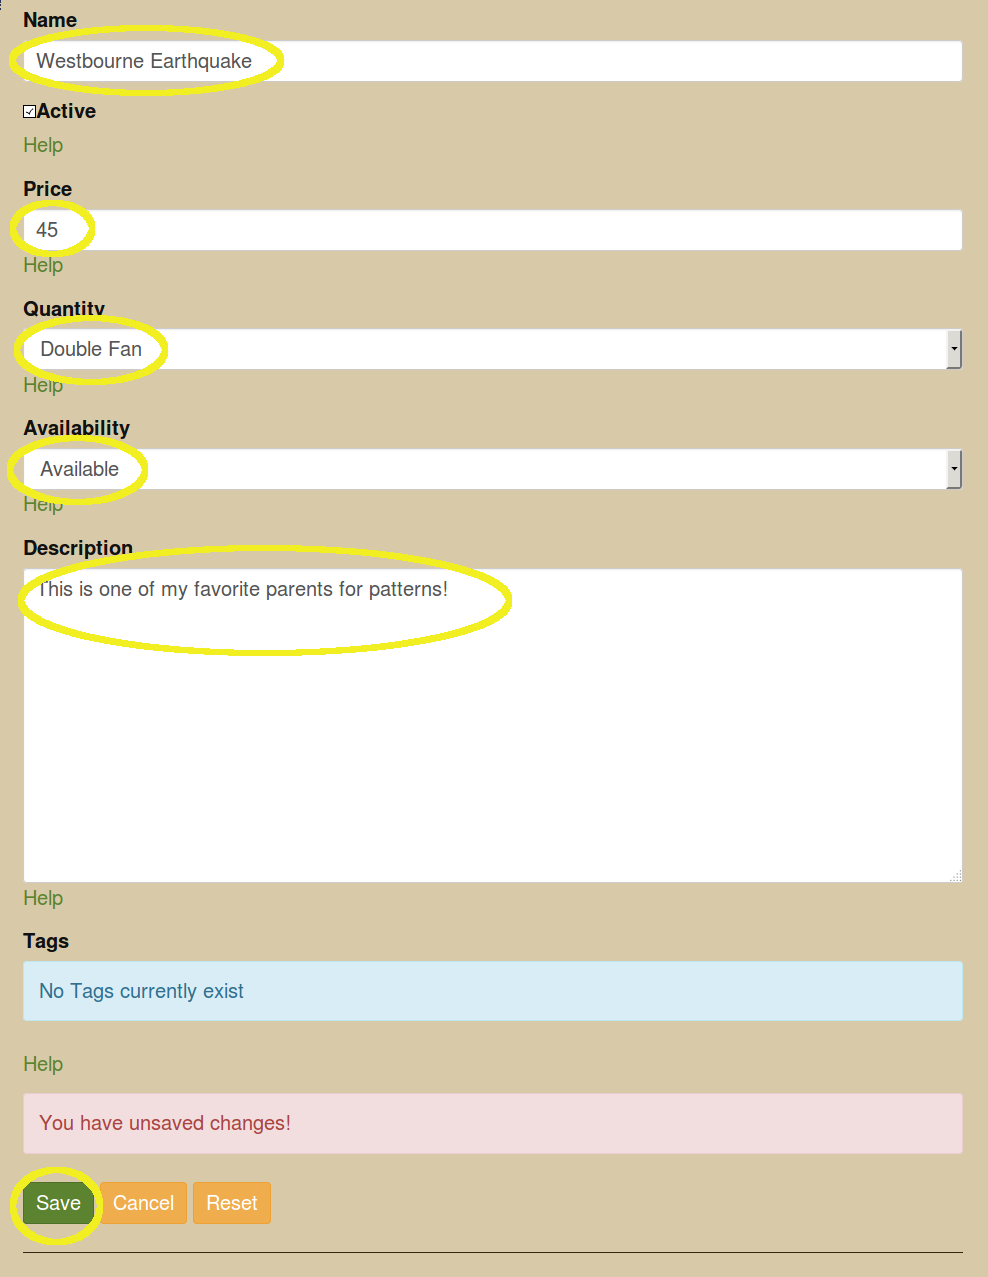
For now, there are no tags, but these can be used to place plants in specific categories for display on your website.
Save your changes. This will take you to a screen listing all your plants.
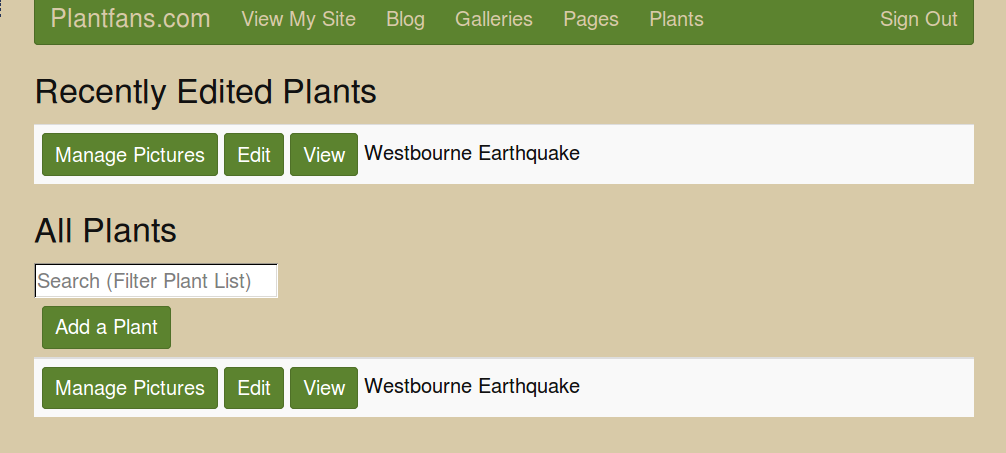
Now let’s add a couple pictures by clicking the Manage Pictures link. You may click either link. The “Recently Edited Plants” section will list the last 3 plants that you have edited which is convenient when you have hundreds of plants entered.
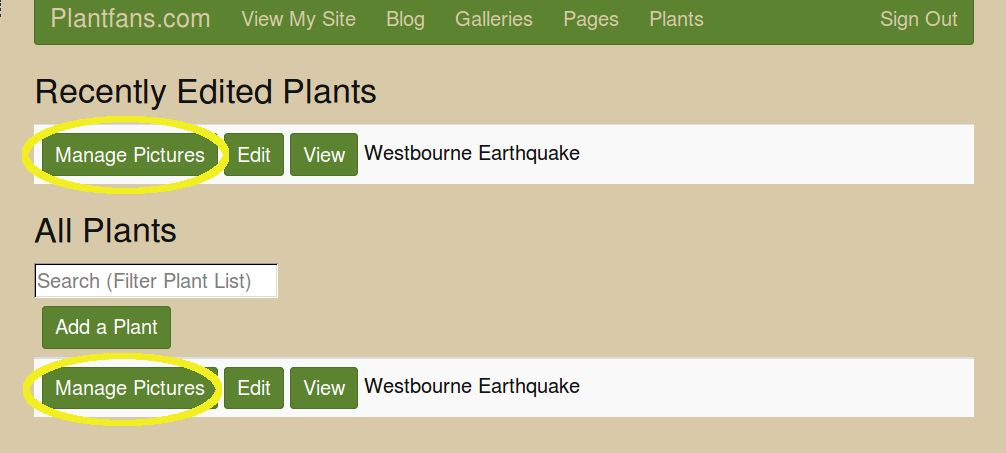
Click “Add new picture” and choose your picture like you did for Pages.

Let’s add another picture the same way.
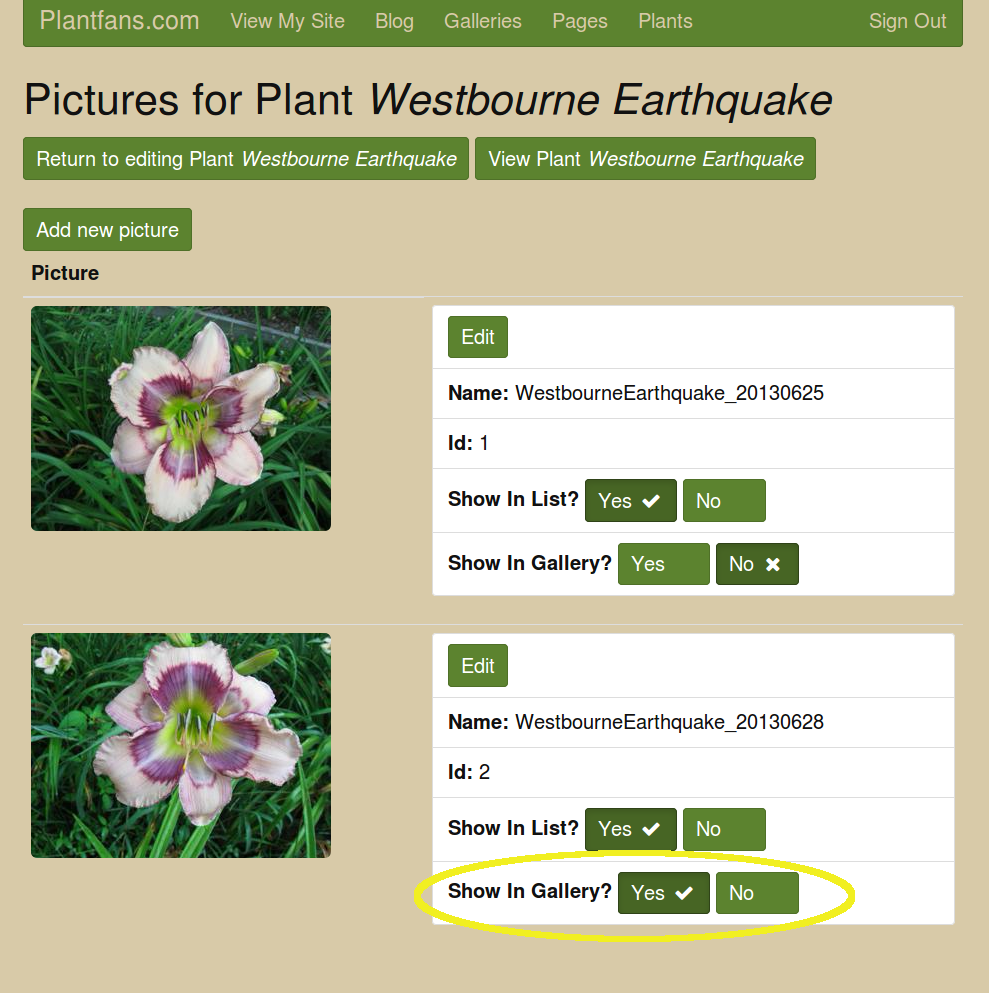
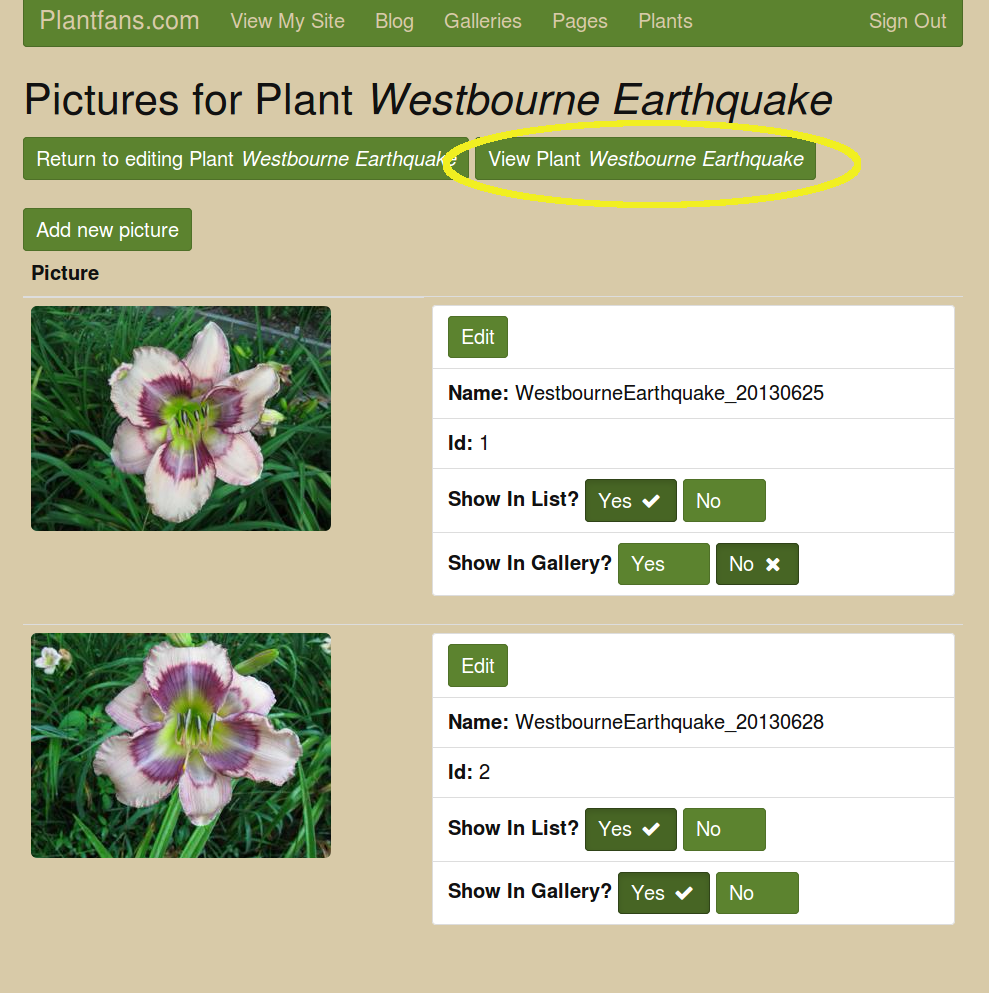
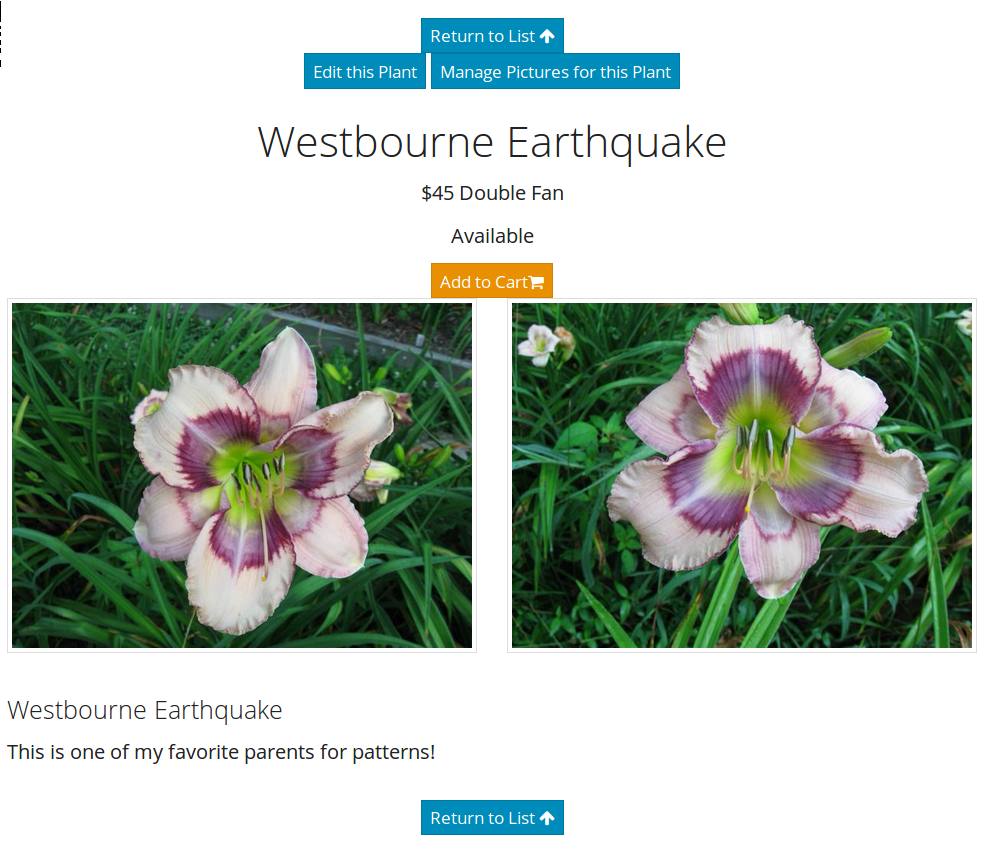
Let’s pick our favorite picture to use in the gallery view. Both pictures will be shown in the list view. You can add as many pics as you like. If you have several pictures, then you may only want to show a few of them in the list view. All can be seen when you view the plant.
Let’s view our plant
Update Contact Info
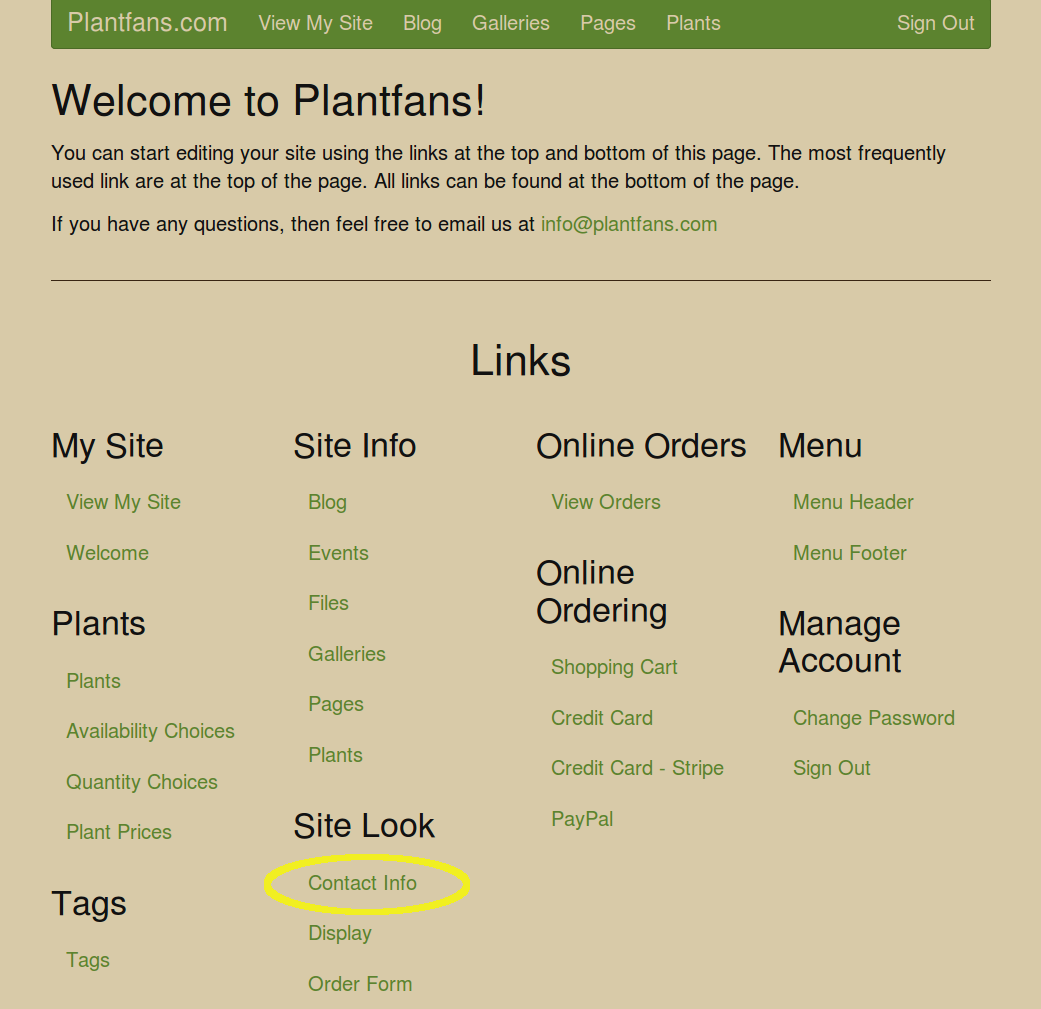
Click Edit Site and choose the Contact Info link at the bottom of the page.
Let’s fill out the relevant contact information.
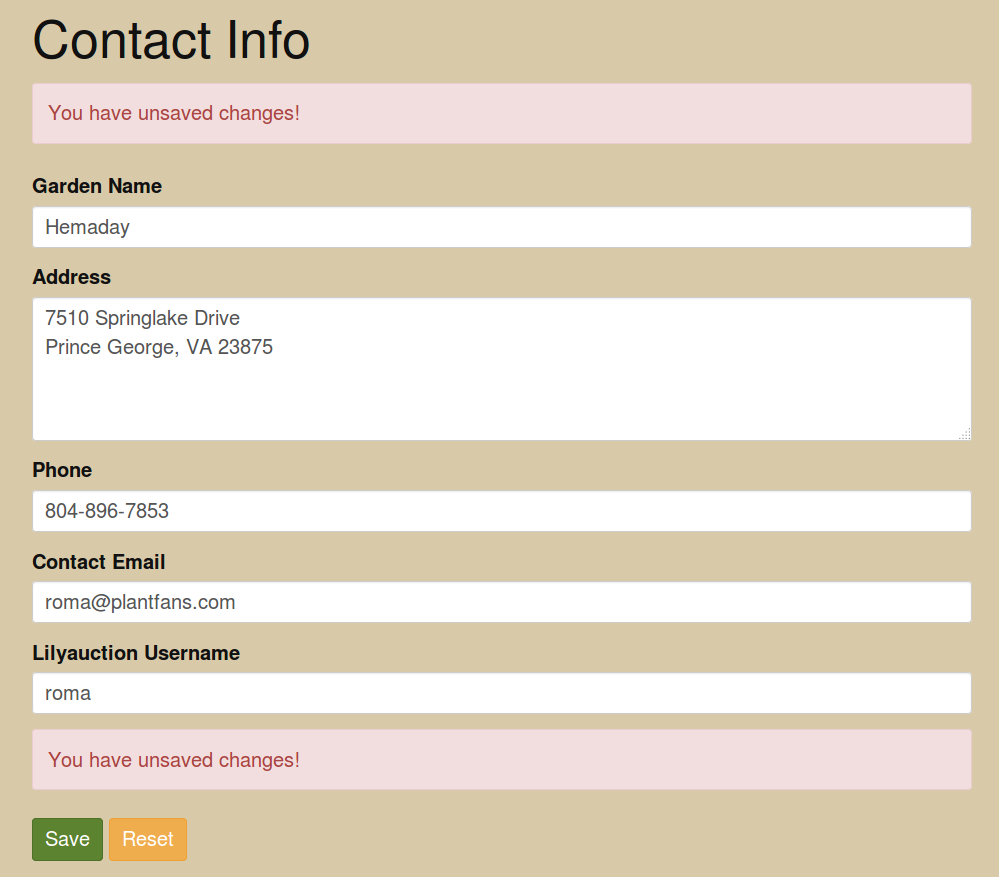
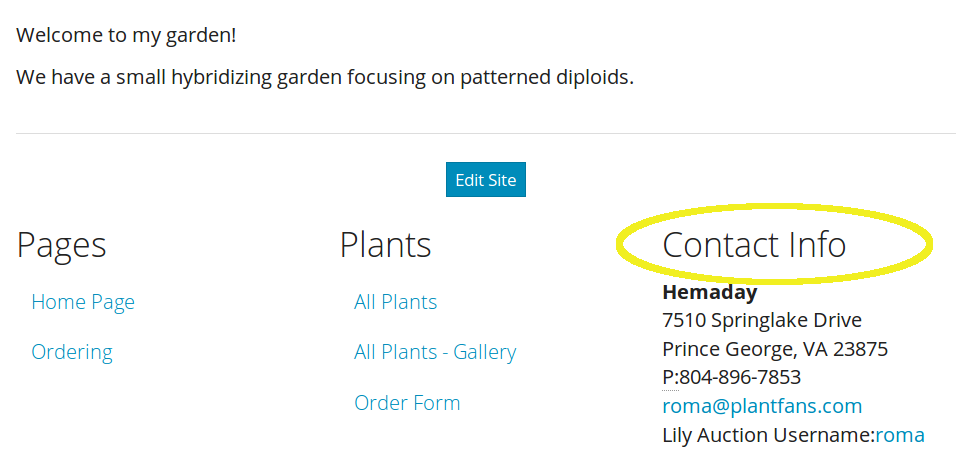
Click save. Now we can view our site and see our contact information updated in the site footer. Clicking our Lily Auction Username will take folks to our current listings on the Lily Auction.
Shopping Cart
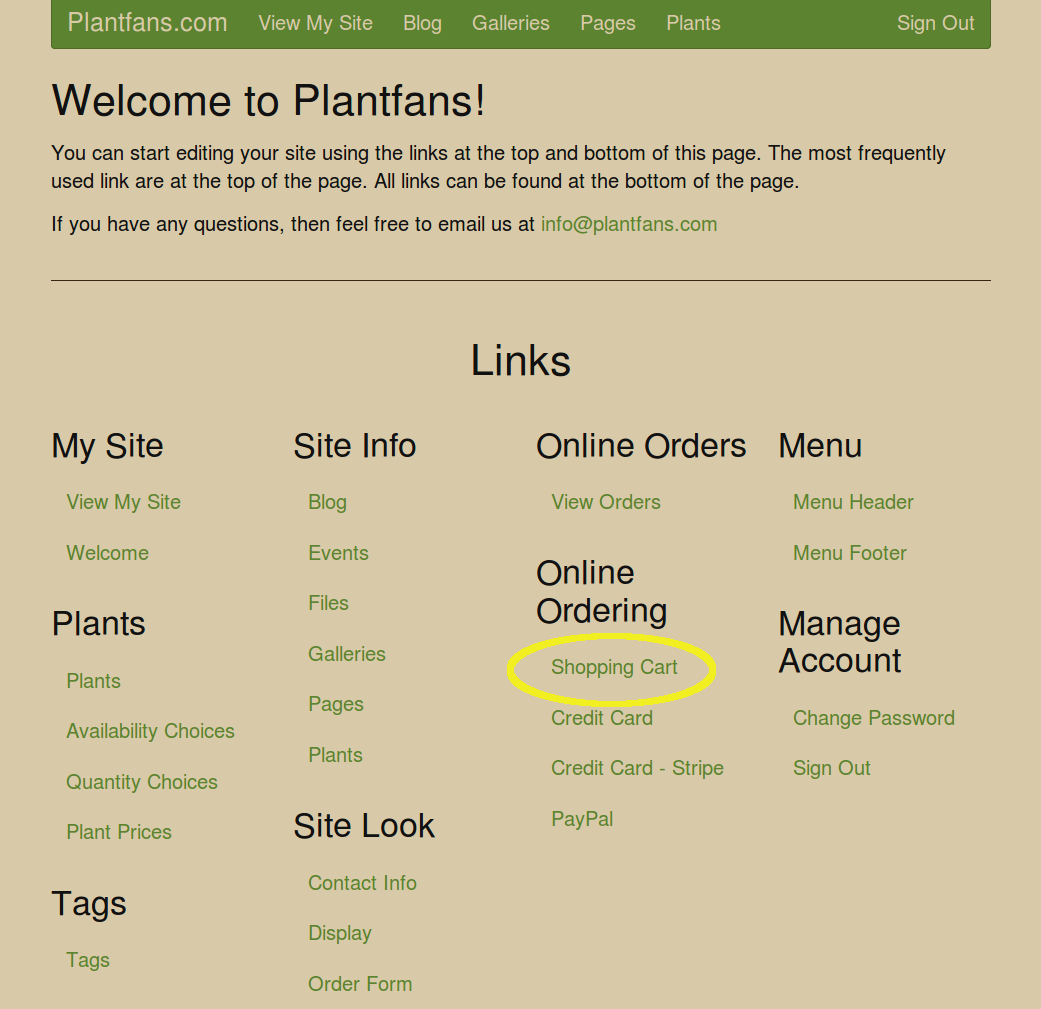
Let’s update our shopping cart. Again click Edit Site and now click the link for Shopping CArt.
Let’s fill out the relevant information and click Save.
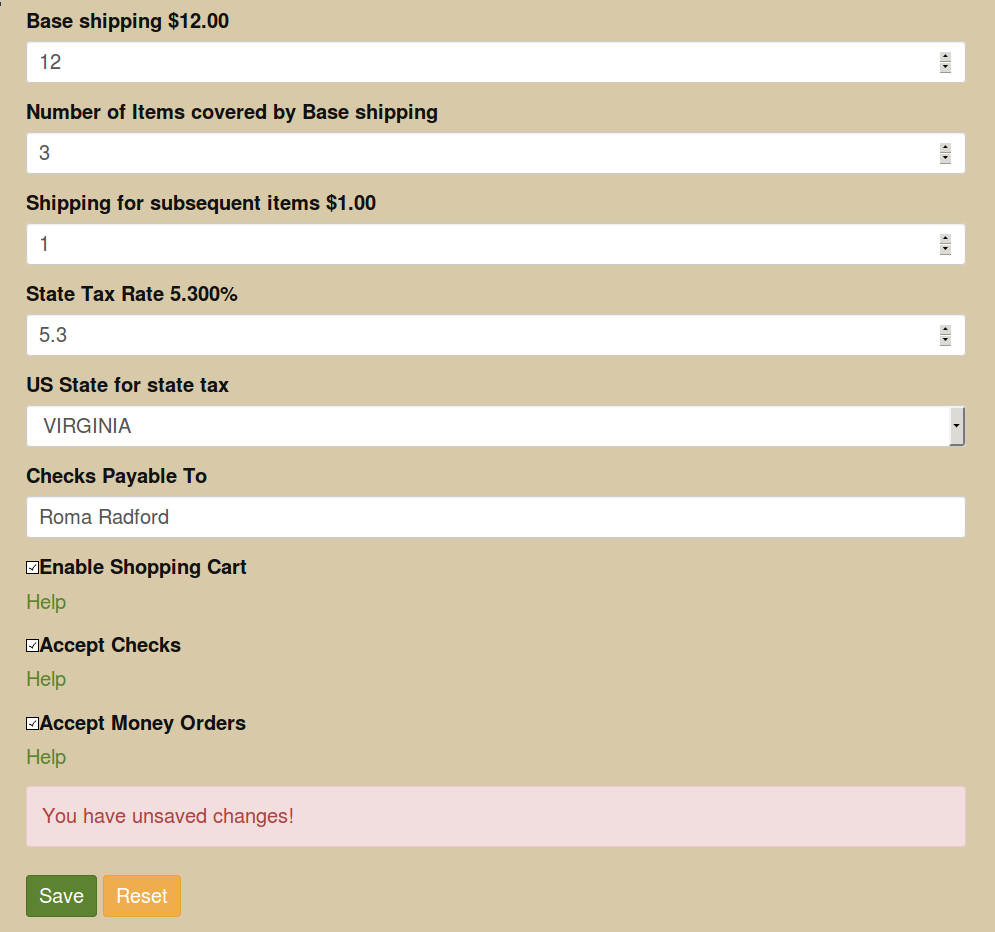
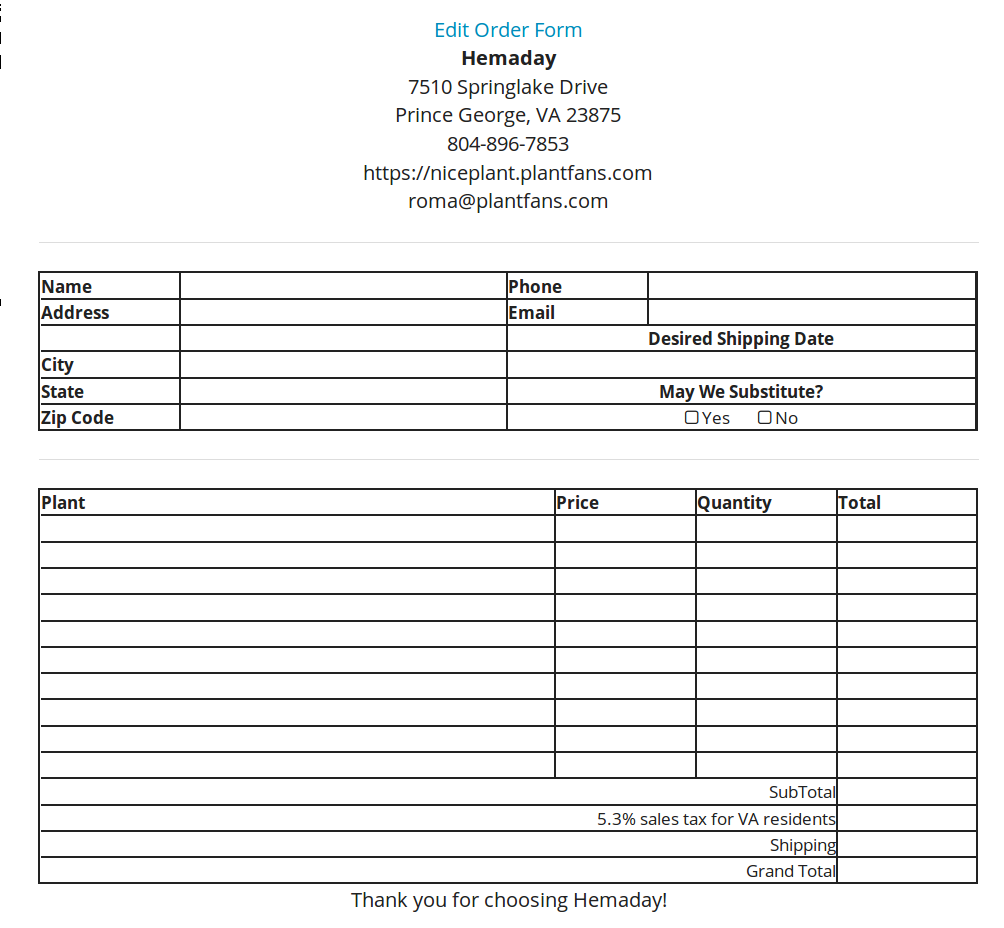
This information will be used when orders are placed online as well as on the online ordering form.
Paypal
We would also like to take PayPal payments, so let’s add that.
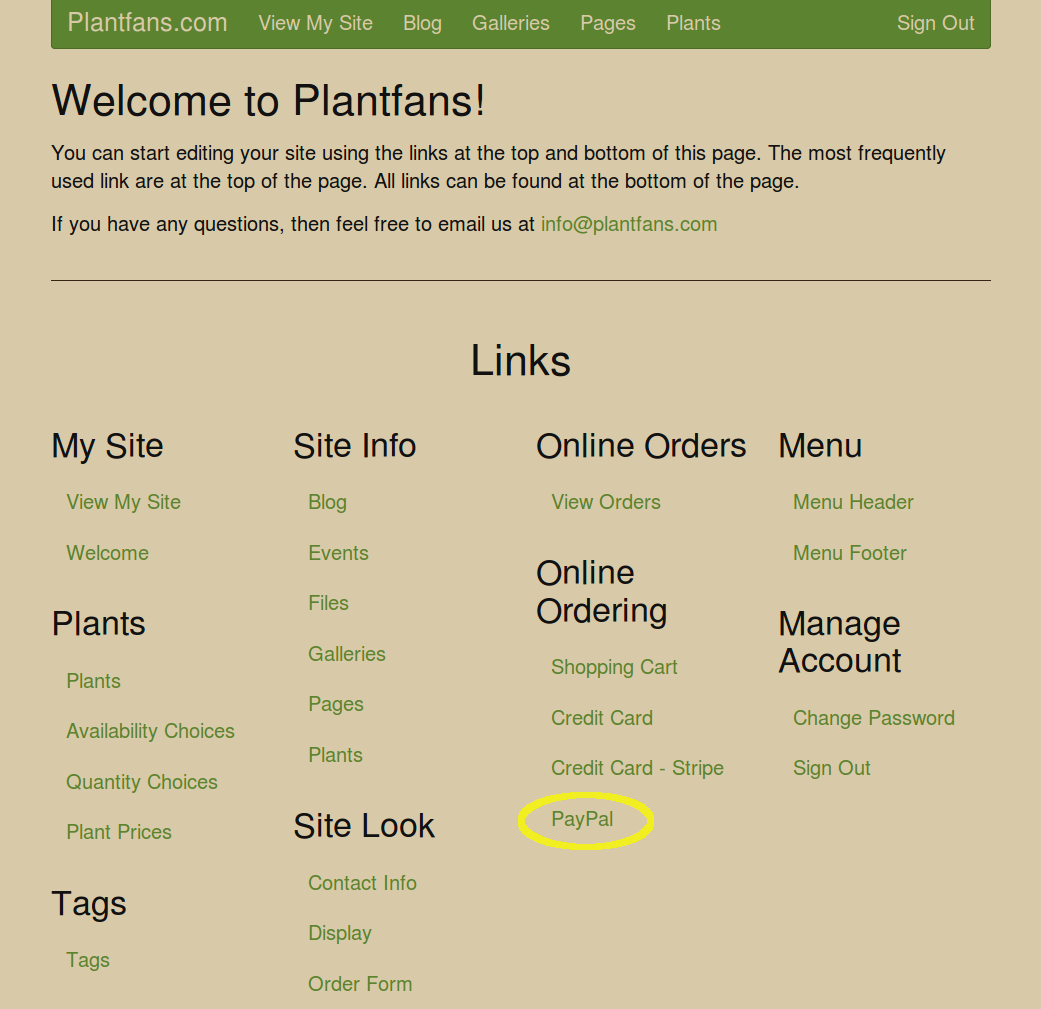
Again click dit Site to return to the admin welcome page. At the bottom of the page, click PayPal.
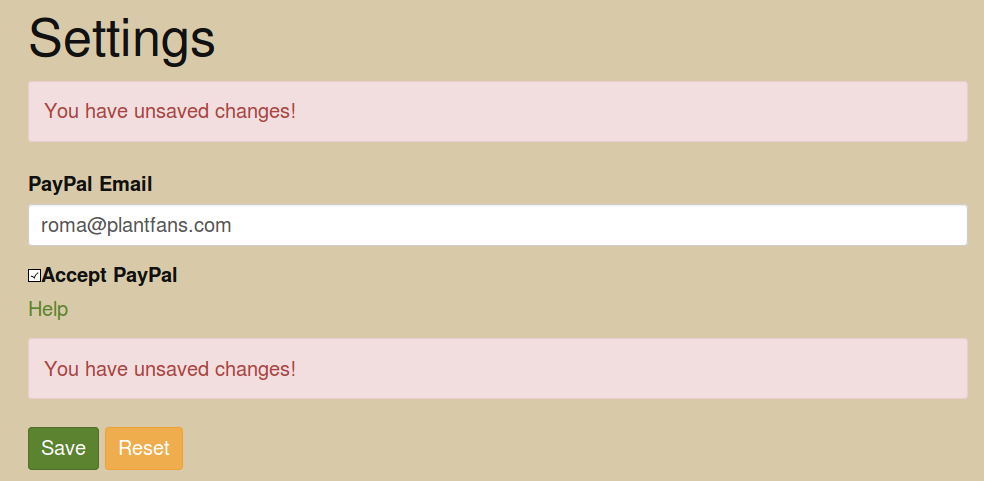
Now enter your PayPal email address and click Save
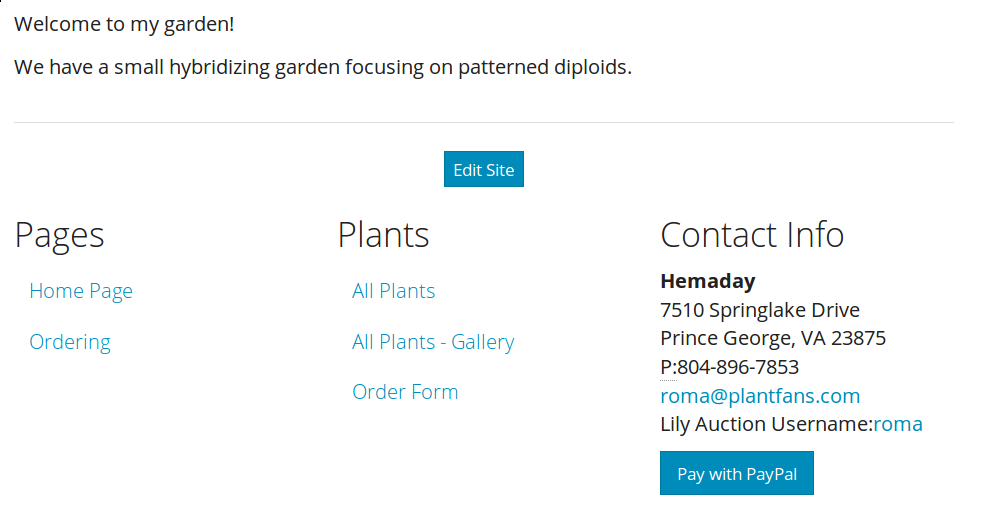
So let’s take a look at our site. We now have a “Pay with PayPal” button and we can accept PayPal payments in the shopping cart.
Theme
Finally, let’s look at some possible different themes. Click Edit Site and choose the Display link at the bottom of the page.
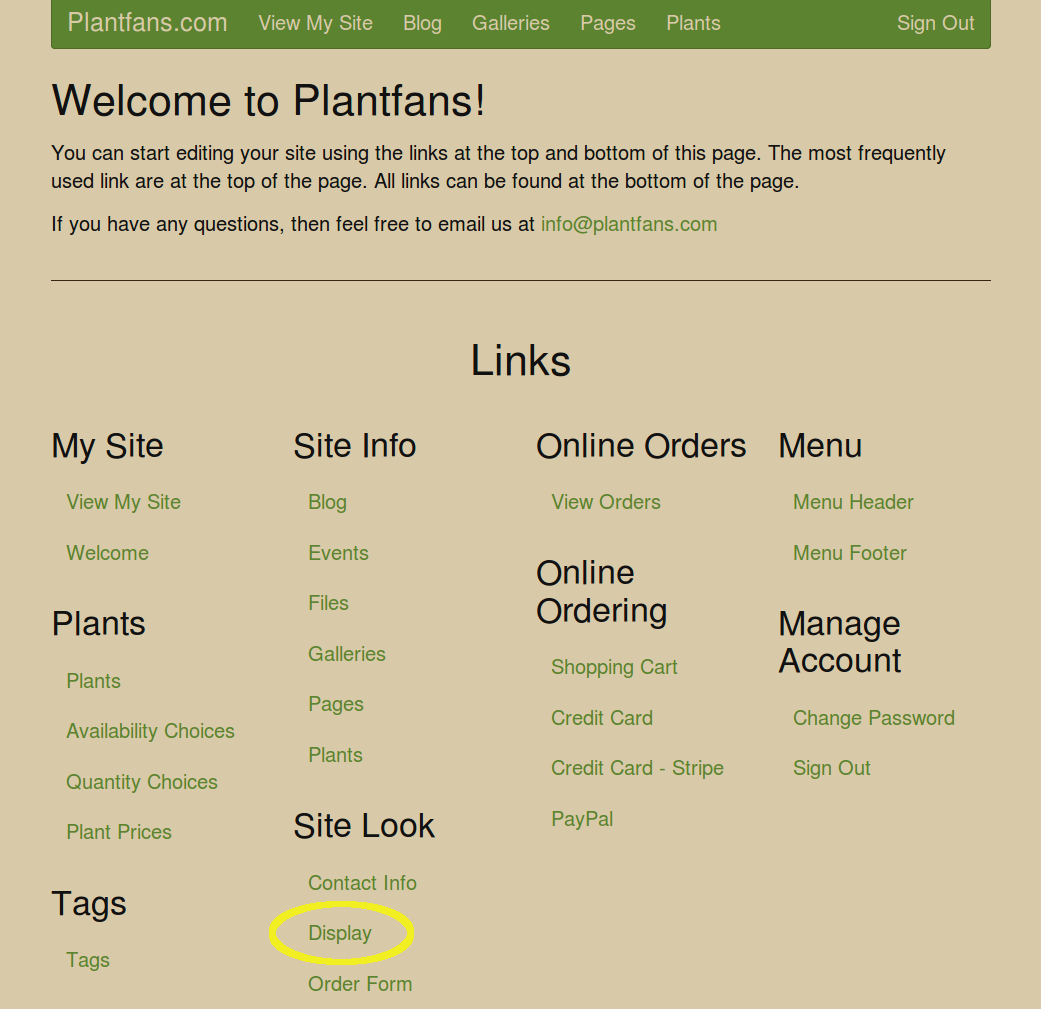
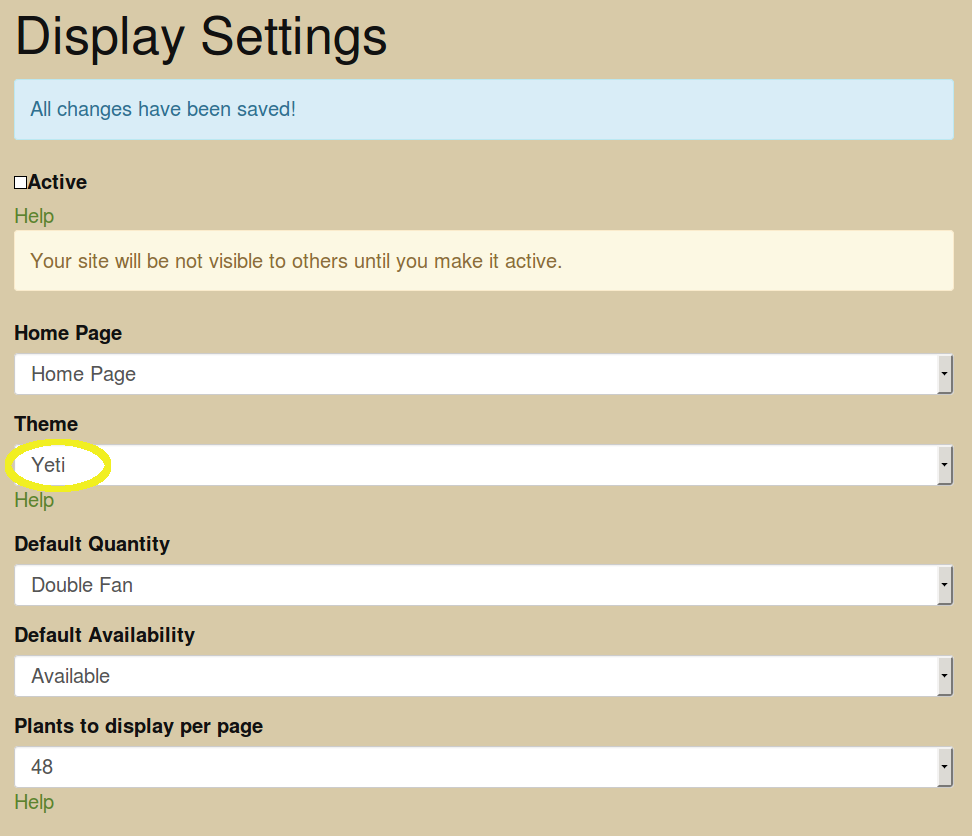
Let’s try switching the theme from Yeti to Cyborg. Save our changes and view our site. Now we have a dark background.
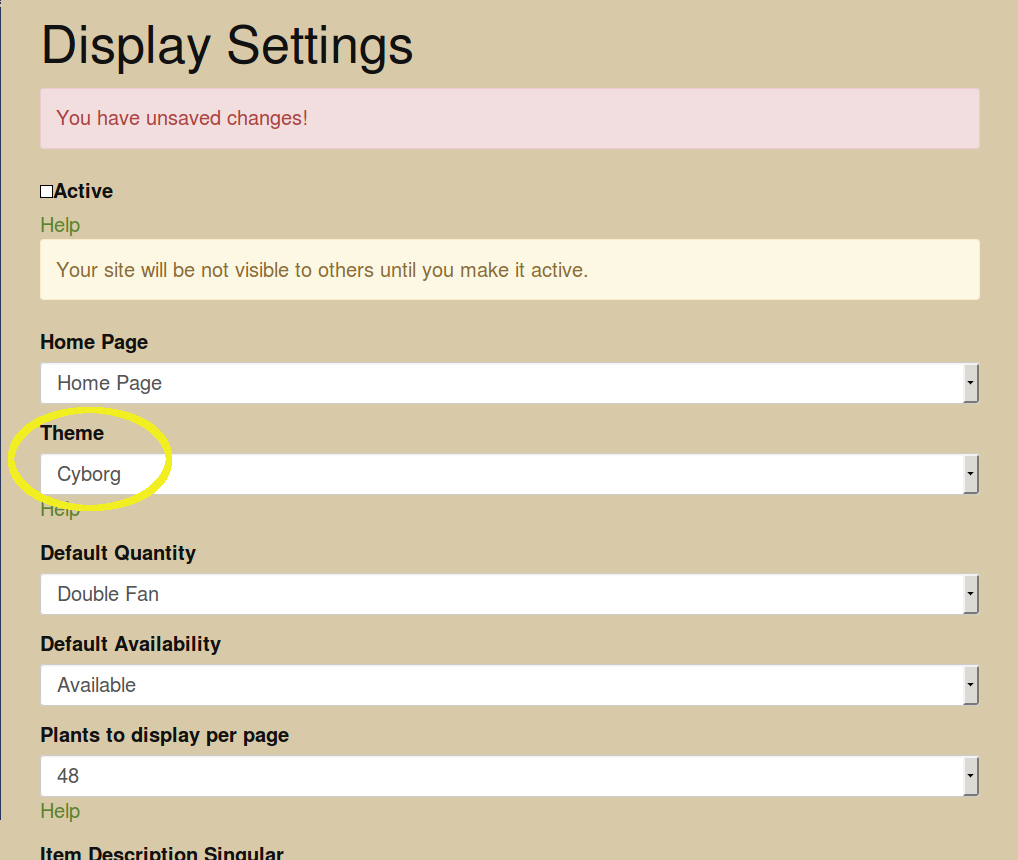
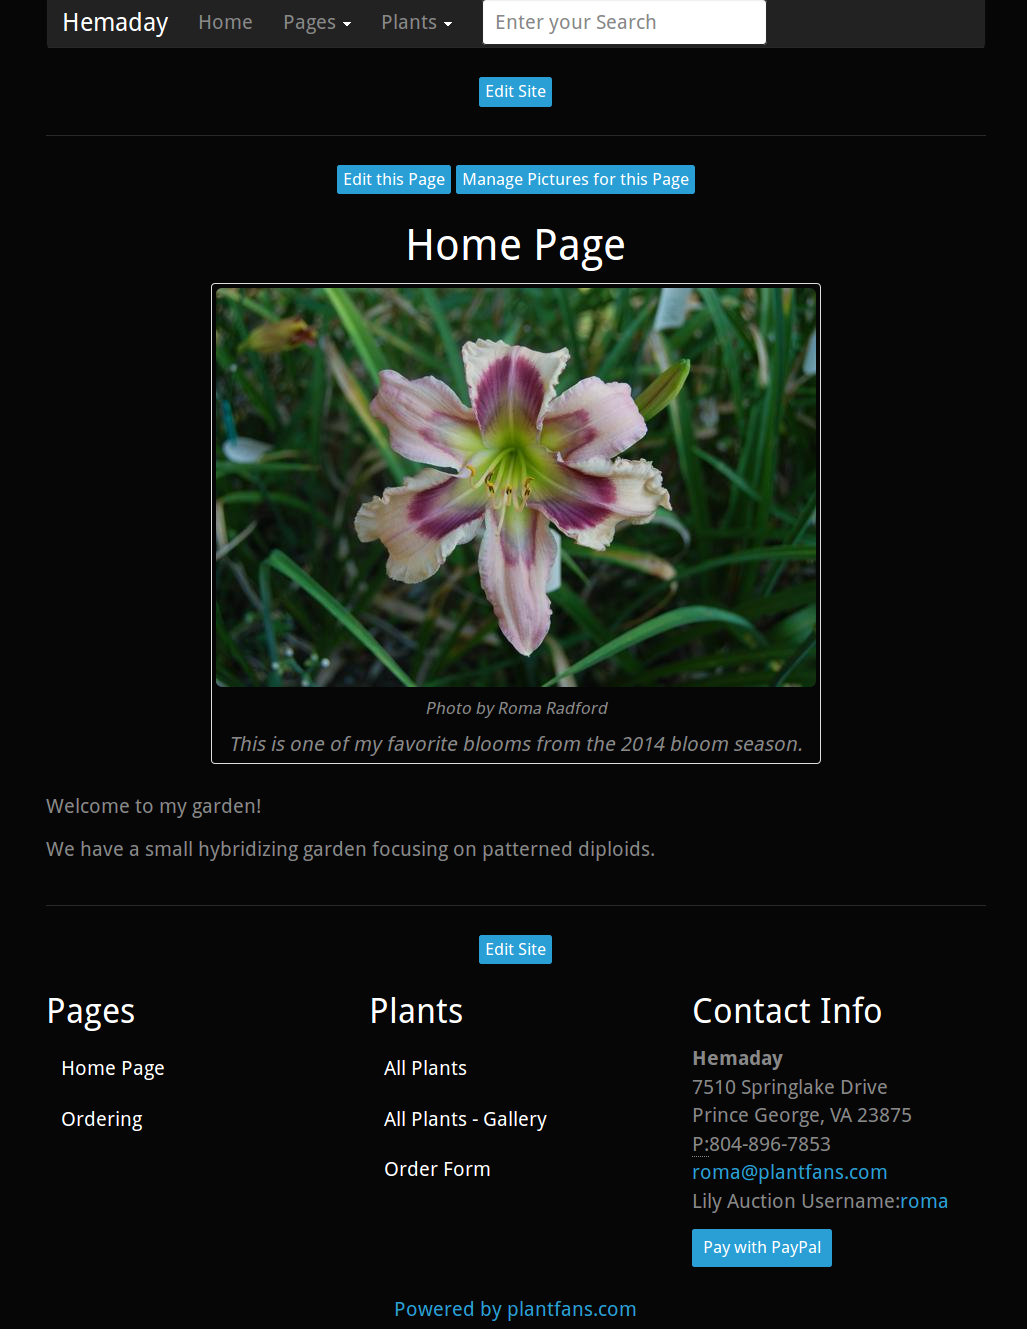
Trying a different theme is just as easy. Let’s try Slate now.
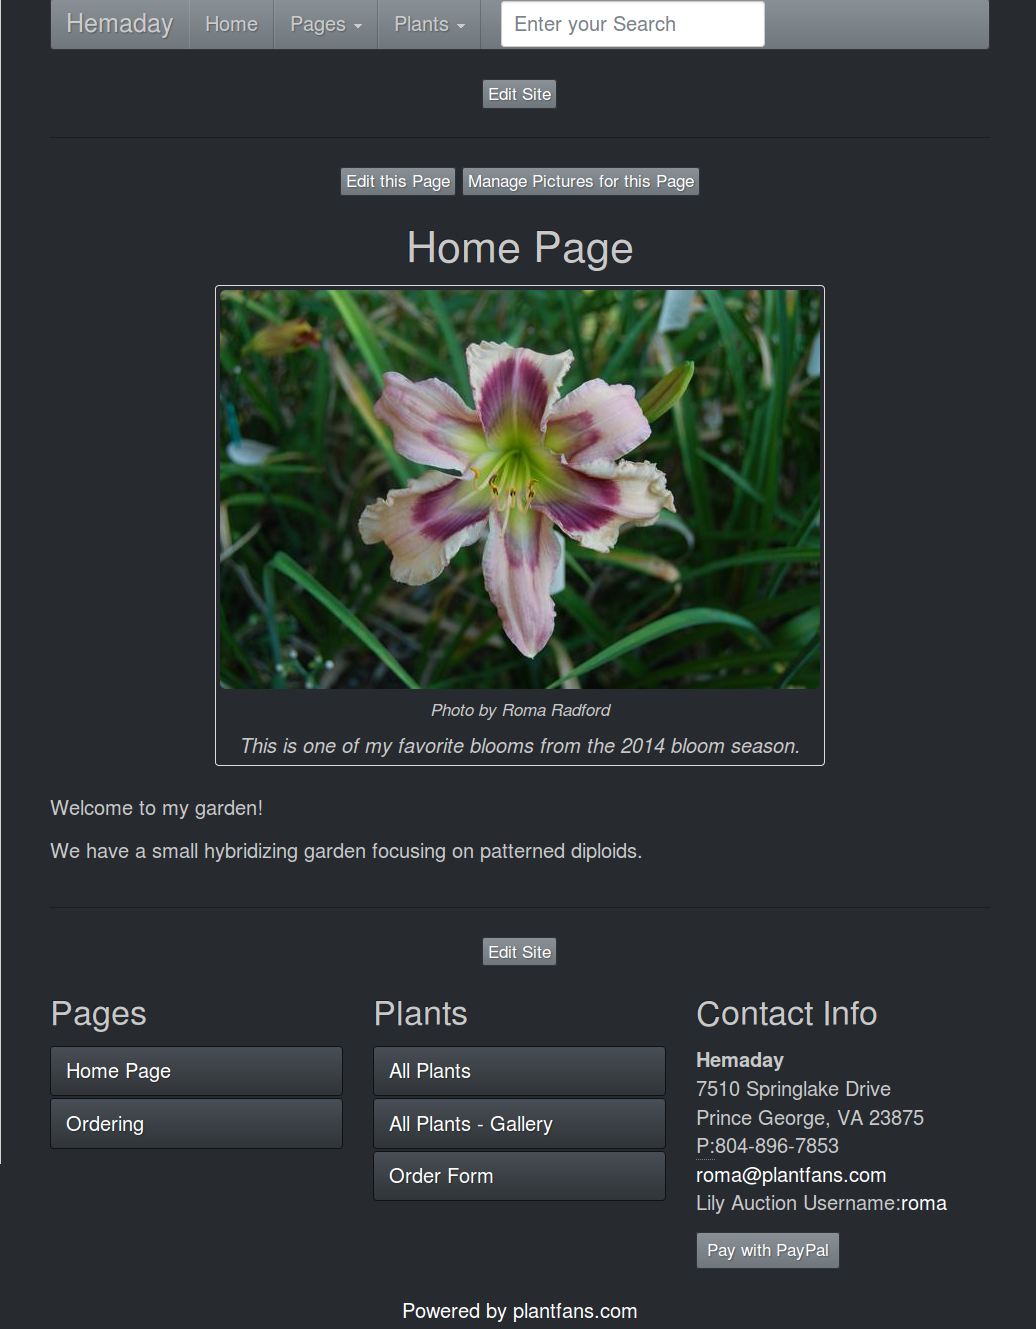
You can change your site’s theme at any time.